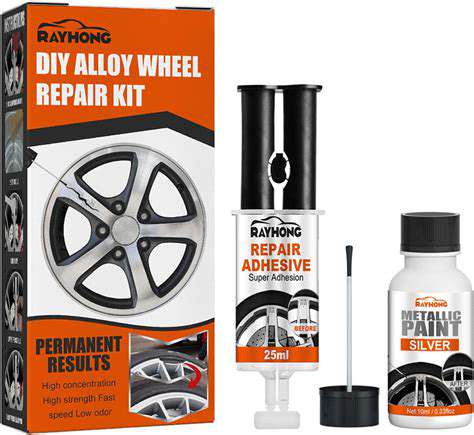
Essential Tools for a Successful Repair
Before tackling a rim scratch repair, it's wise to assemble all the necessary tools. A well-prepared toolkit can make the difference between a frustrating experience and a satisfying result. Investing time in gathering the proper equipment upfront saves headaches later and dramatically improves your chances of success. Many amateur repairs fail simply due to inadequate preparation.
You'll want to have various grits of sandpaper on hand, typically starting with 400 grit and moving up to 1500 grit for the finest finish. The progression through different grit levels is what creates that smooth, professional-looking result. Don't skip any grit steps - each serves an important purpose in the process.
Preparing the Scratch Area
Cleanliness is absolutely critical when preparing to repair a scratched rim. Every speck of dirt, grease, or road grime can prevent the repair materials from bonding properly. Take the time to thoroughly clean the area with a dedicated automotive degreaser - this step makes or breaks the entire repair. I've seen many otherwise good repairs fail because this step was rushed.
After cleaning, carefully examine the damage. Look at the scratch from multiple angles to assess its depth and length. This evaluation will guide your choice of repair method and materials. Sometimes what looks like a simple surface scratch might actually reveal deeper damage upon closer inspection.
Selecting the Right Repair Compound
The marketplace offers numerous repair compounds, but choosing the right one requires careful consideration. Not all compounds work equally well for all types of damage - some are formulated specifically for deep gouges while others work best on light surface scratches. Using the wrong product can lead to disappointing results.
Color matching deserves special attention. A perfect color match is what makes a repair truly invisible to the naked eye. Many manufacturers offer color-matching guides, and some auto parts stores can even custom-mix compounds to match your rim's exact shade. Don't settle for close enough if you want professional results.
Sanding Techniques for a Smooth Finish
Proper sanding technique is an art that requires patience. Always start with the coarsest grit needed and work your way up gradually. Use light pressure and circular motions - pressing too hard can create new scratches that are harder to repair than the original damage.
Applying and Finishing the Repair Compound
Application technique varies by product, but the universal rule is to follow the manufacturer's instructions precisely. The key to success lies in applying just enough compound to fill the scratch without creating excess that needs to be sanded away later. Take your time with this step - rushing leads to mistakes that can ruin an otherwise good repair.
Finishing Touches and Inspection
After the compound has fully cured (don't rush this either), examine your work under good lighting from multiple angles. A meticulous final inspection will reveal any areas needing additional attention before you declare the job complete. The polishing stage isn't just cosmetic - it helps blend the repair seamlessly into the surrounding surface. Finish by cleaning the entire rim to remove any polishing residue.